Hello lovely people! I thought that since you're all so crazy supportive of me and my last blog post about post processing was a huge hit, I would go and do another one for you guys! My main topic I am always asked about is my post processing style and it seems to have become a huge hit!
Just as always, remember....Don't always feel or worry that your images should look like mine or anyone elses. I've gone through countless styles of processing and always wanted my images to look like someone elses. This style may or may not suite your brand and how you shoot. I love for my images to have dark, deep and mystery to them at times. I'd love for you to take as much away from this as you can, but ALWAYS remember to be yourself in the end. That is what will shine through :)
I hope this helps a ton of you out who have lingering questions about my post processing style!
Let us begin!
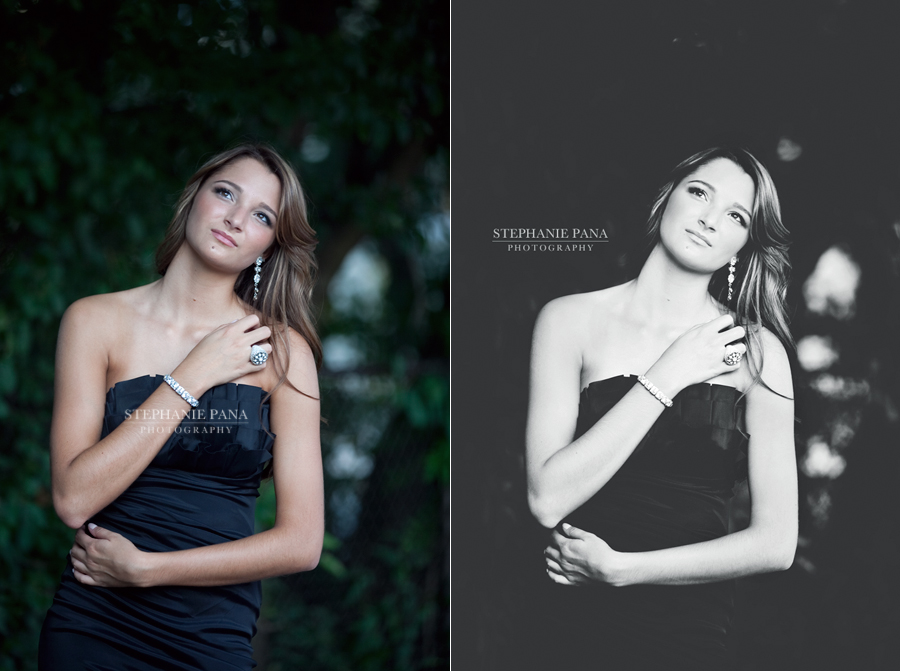
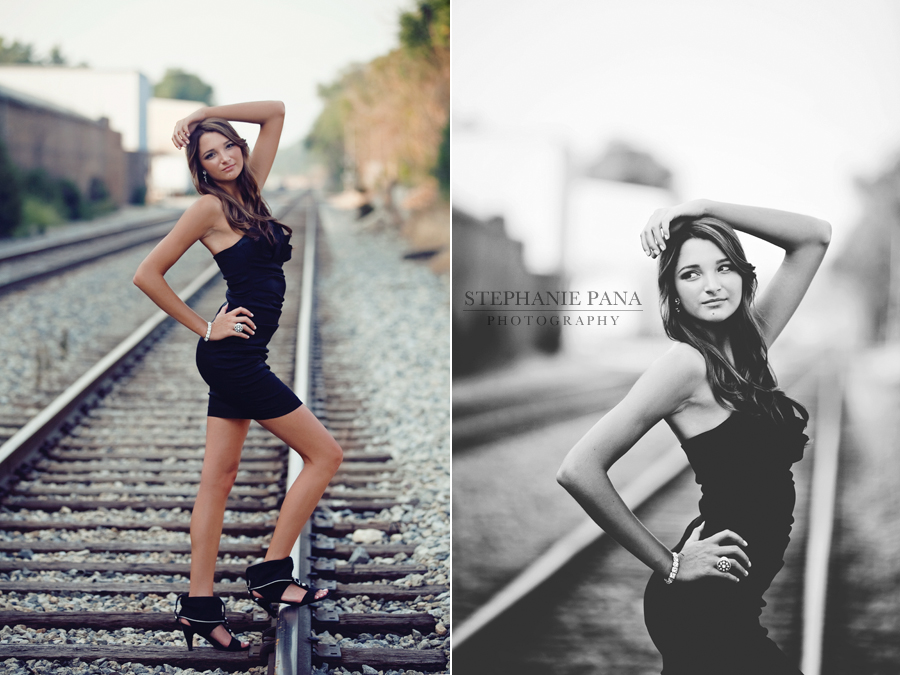
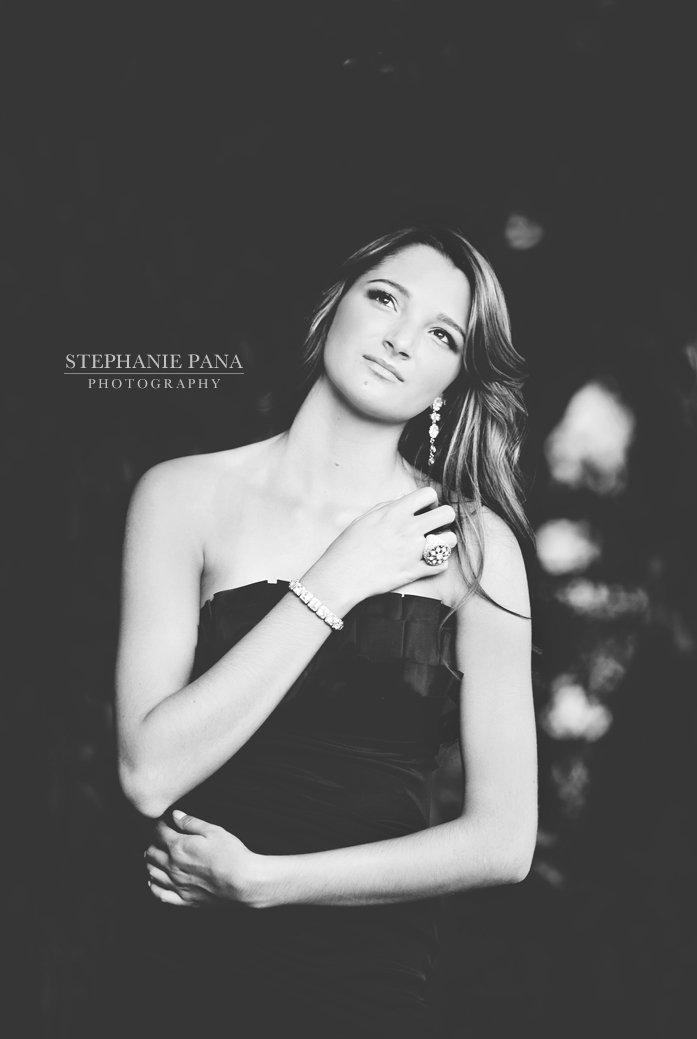
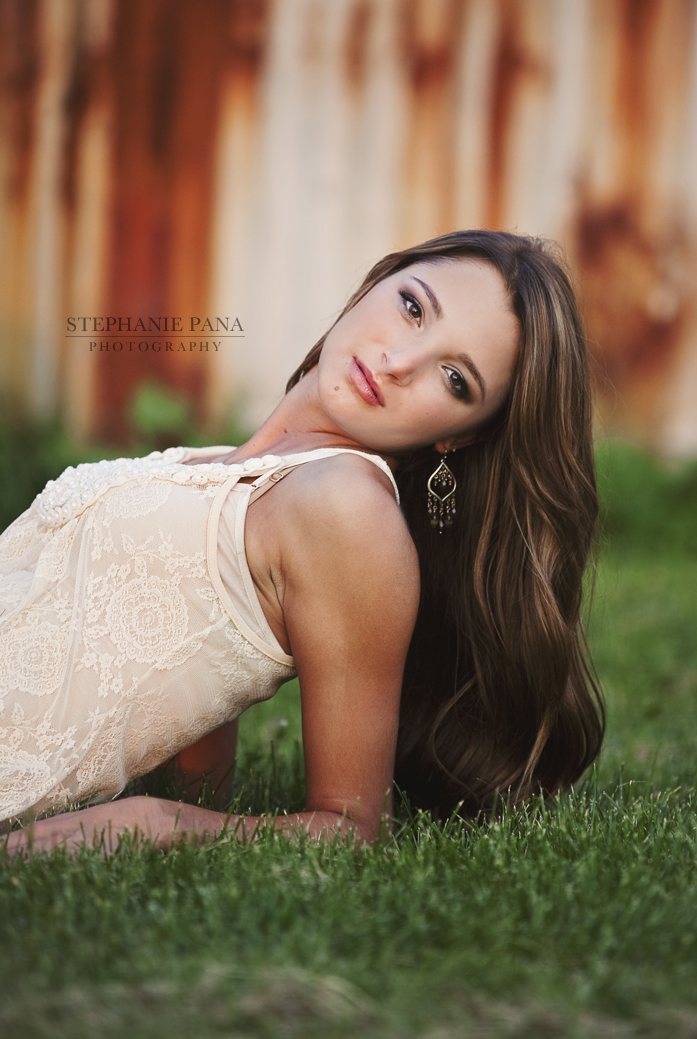
Black & White Post Processing
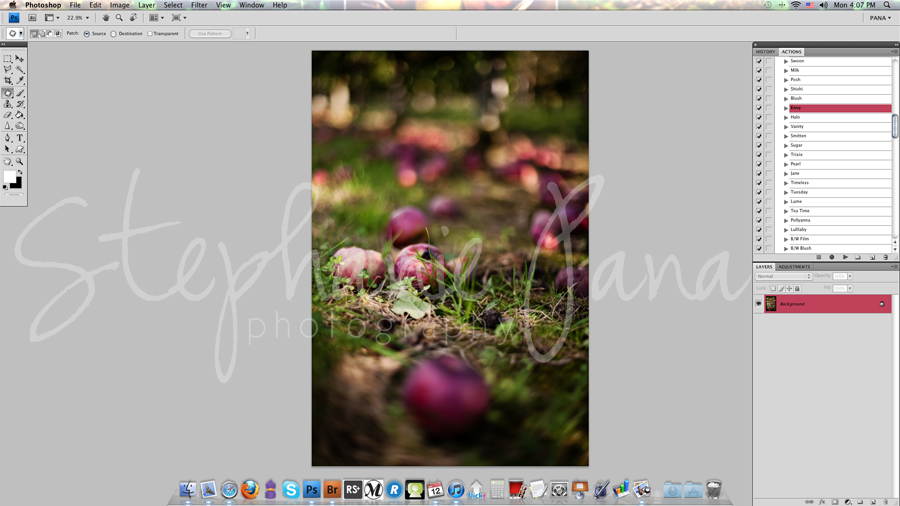
Here is a quick look at the before & after of this image. It was shot with a Canon 5D Mark II, 70-200mm 2.8L lens @ f/2.8, ISO 125, 1/125 shutter speed. First image is SOOC, the second is the completed edit.
My first things that I do to any and ALL of my images are basic RAW edits. These minor adjustments make a world of difference in the end. I first take my focus to the fact that the image was a bit too "cool" for me. Do keep in mind, I also do these same steps for color edits.
I adjusted the color balance to warm up the image a bit, till it was visually more appealing to my eyes. I then did my basic contrast, clarity and recovery adjustments as needed. That's it!!
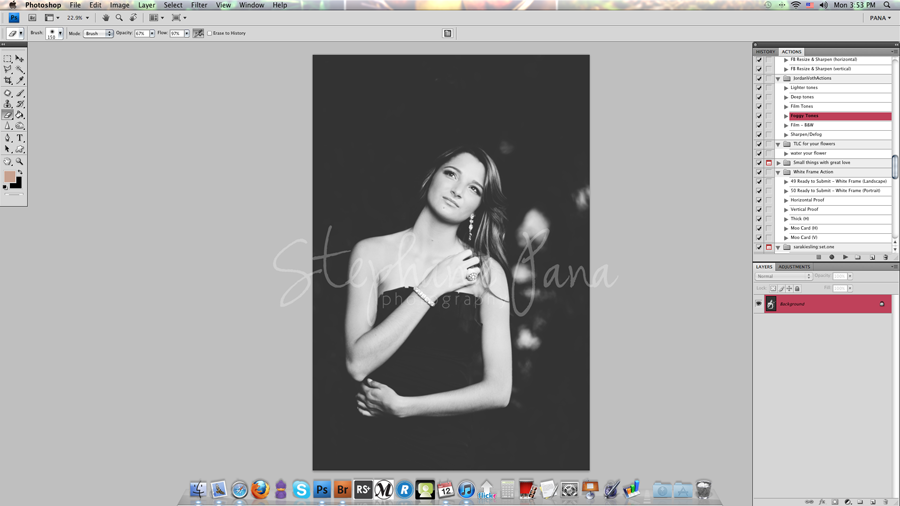
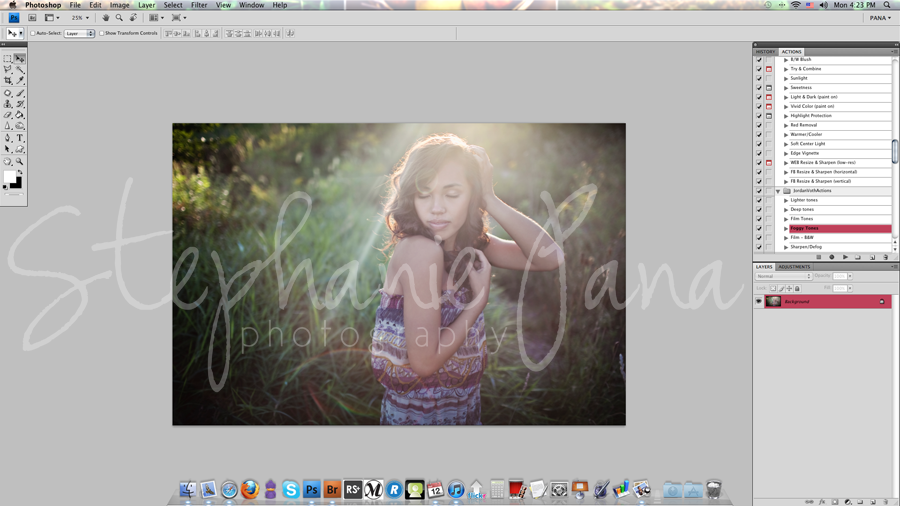
Once the image has entered Photoshop, I work first and foremost on the skin. Once that is completed, I de-saturated the image and then move onto using Jordan Voth's "Lighter Tones" action to add a nice amount of contrast to the image that I needed (as seen above).
My final step to add the "hazy" effect is to also use Jordan Voth's "Foggy Tones". This is one of the rare times I ever use it at full opacity without any adjustments but I really liked the dramatic moodiness it gave off.
It's easy as that!!
--------------------------------------------------------------------------------------------------------------
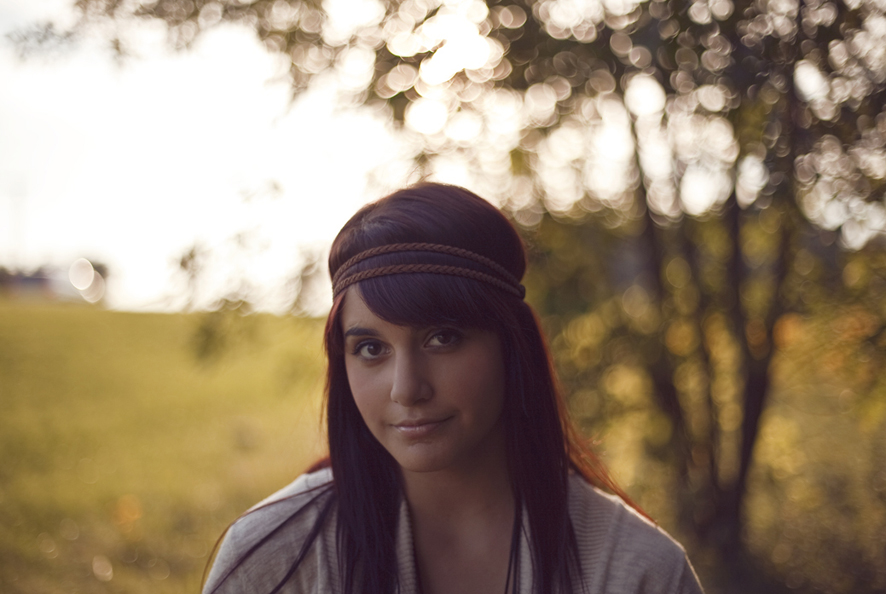
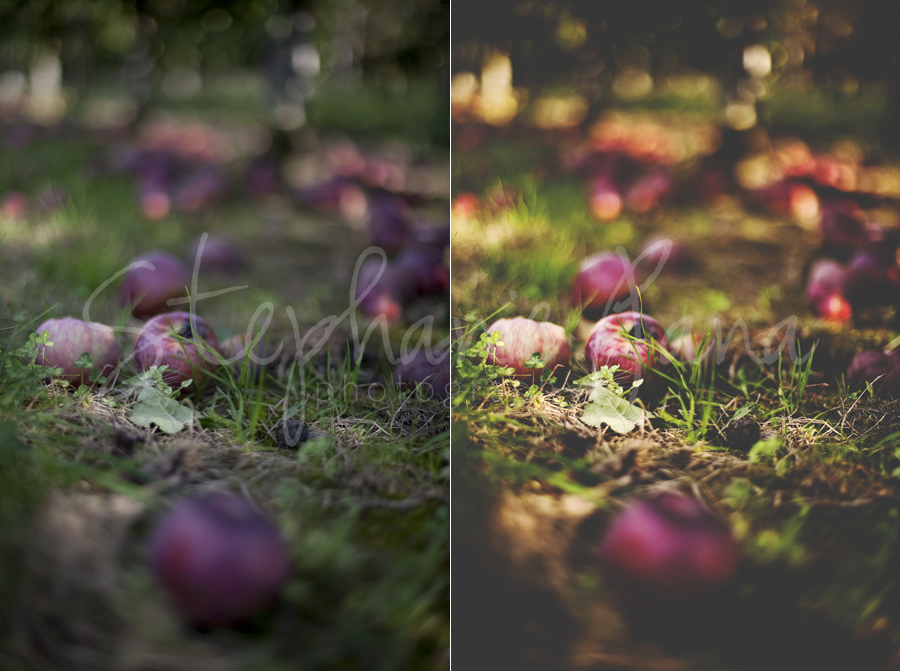
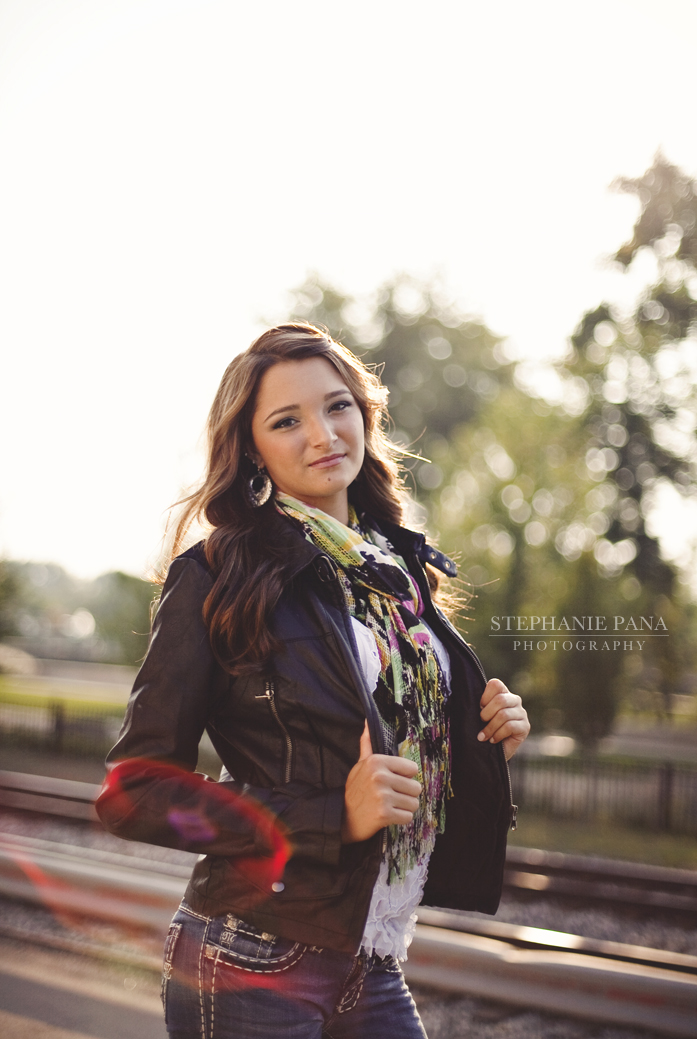
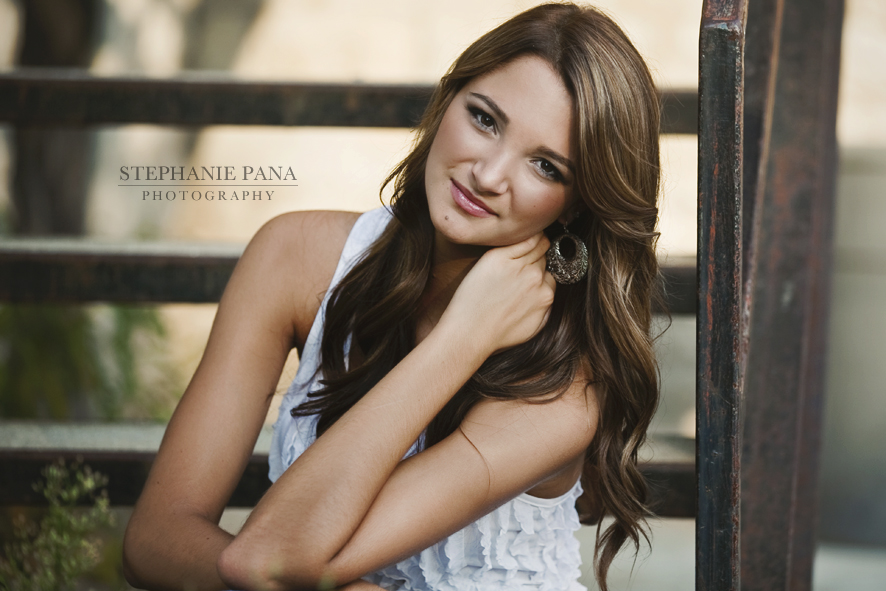
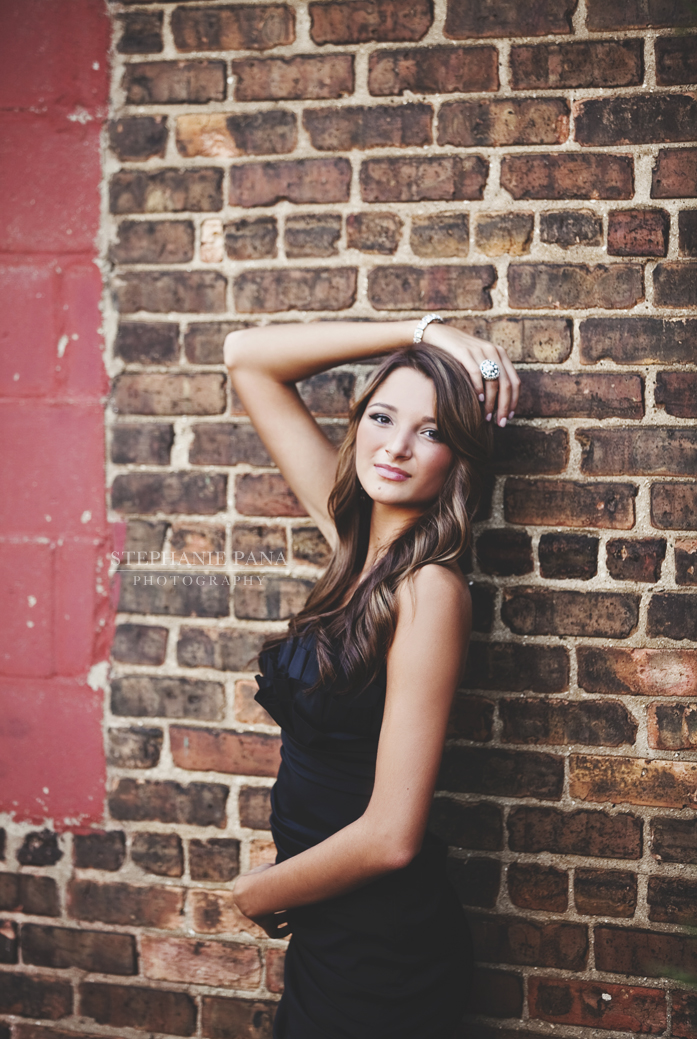
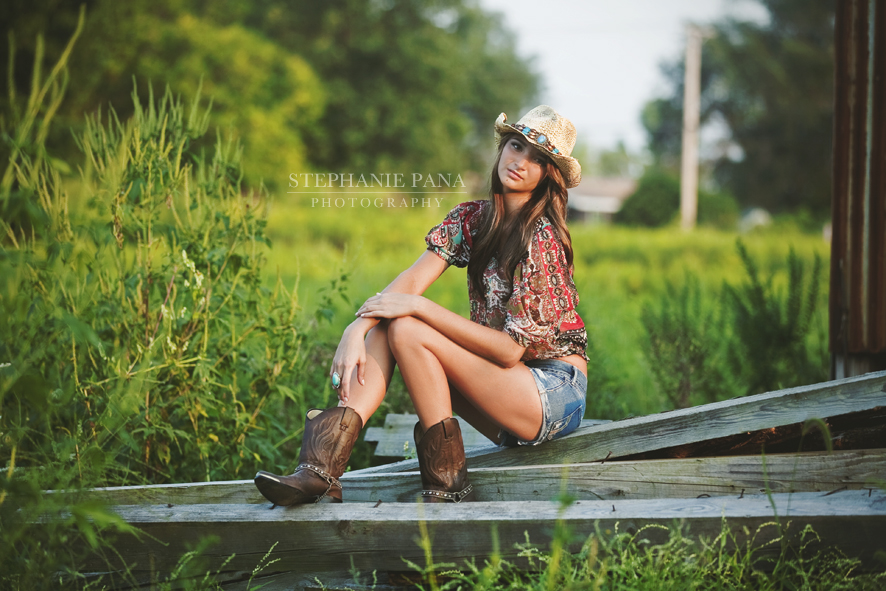
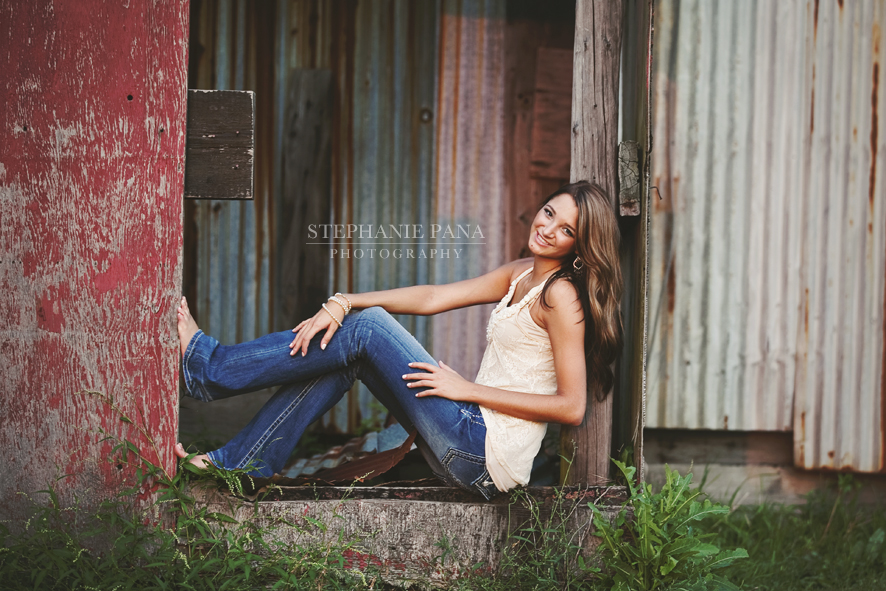
Deep/Moody Tones Color Post Processing
The above image was taken with a Canon 5D Mark II + a 50mm 1.4 lens @ f/1.4, ISO 100, 1/2500 shutter speed. I really, really wanted to bring Fall to life and the first initial SOOC image did not do that for me. Naturally, my camera (because I set everything on AWB) makes it very cool usually. I don't mind that since I have the capabilities to go back into RAW and change it however I please. Let's watch this fun transformation!
Once again, RAW is just my lifesaver. It really is. I definitely needed to warm up this image a bit, which I did using the temperature gauge. I then took my focus to the contrast and clarity. I upped this a bit higher than I normally would for a portrait but really wanted to bring almost a "painted" effect to this so I decided to give it a little extra love. I also upped the recovery juuuust a tad to make everything feel a bit more matted.
My next step was to really bring even more vibrancy and life to this image. I used Florabella's Luxe II Action (Envy) and tweaked it to my taste. I use this action a lot but always end up deleting a lot of the layers or making the opacity much, much lower for a subtle look.
Next step to add that infamous "haze" is get again, Jordan Voth's "Foggy Tones" at full blast. Once again, use this in taste. Being that this wasn't a portrait, I felt I could push the envelope a bit with my editing and make it more of a painting!
--------------------------------------------------------------------------------------------------------------
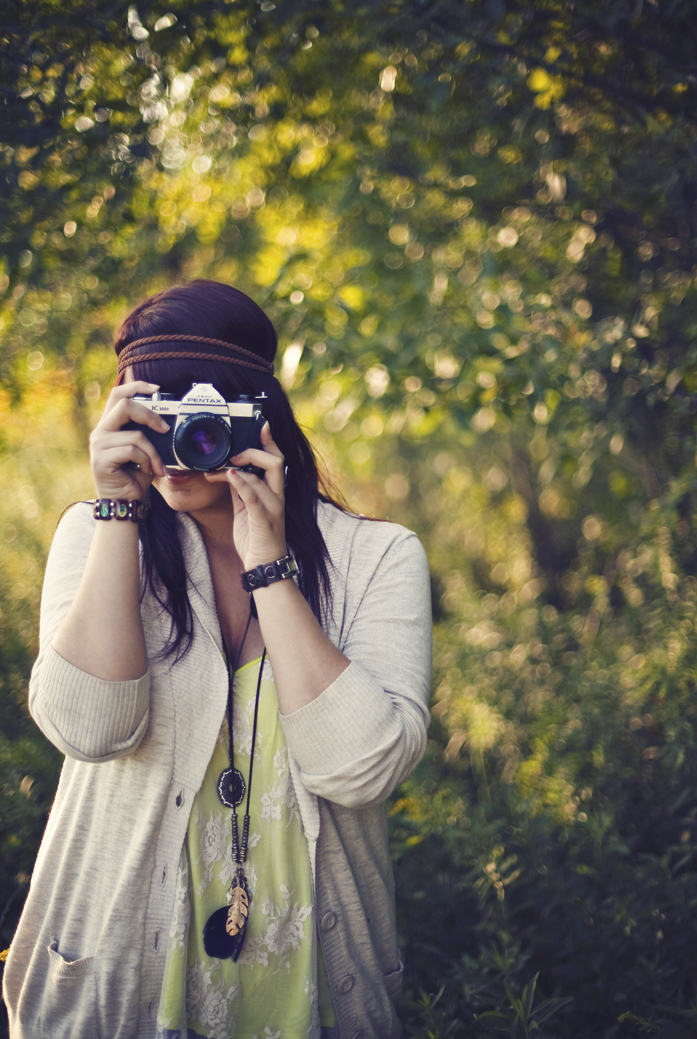
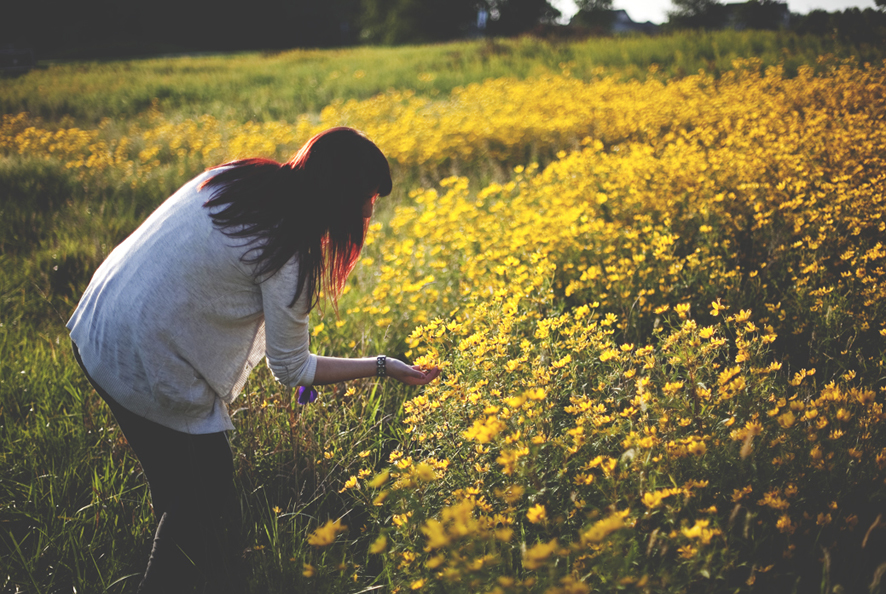
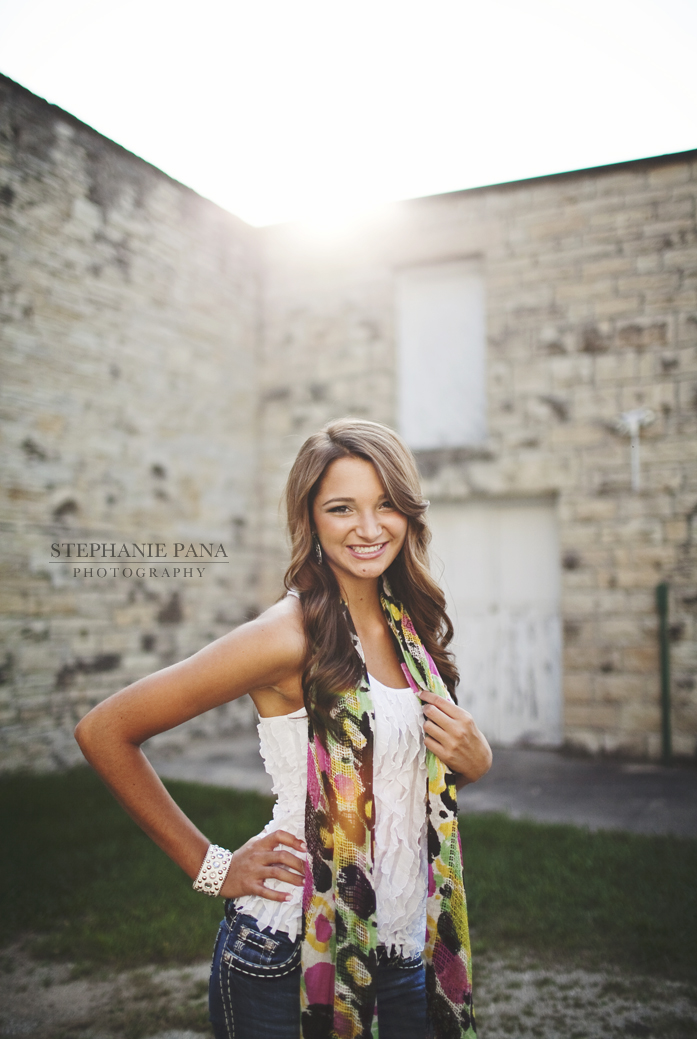
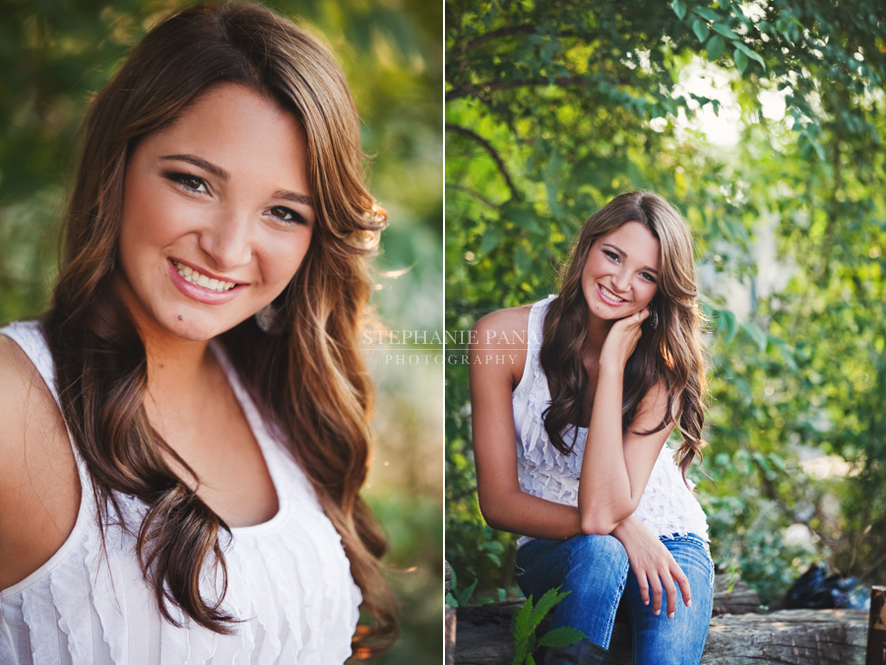
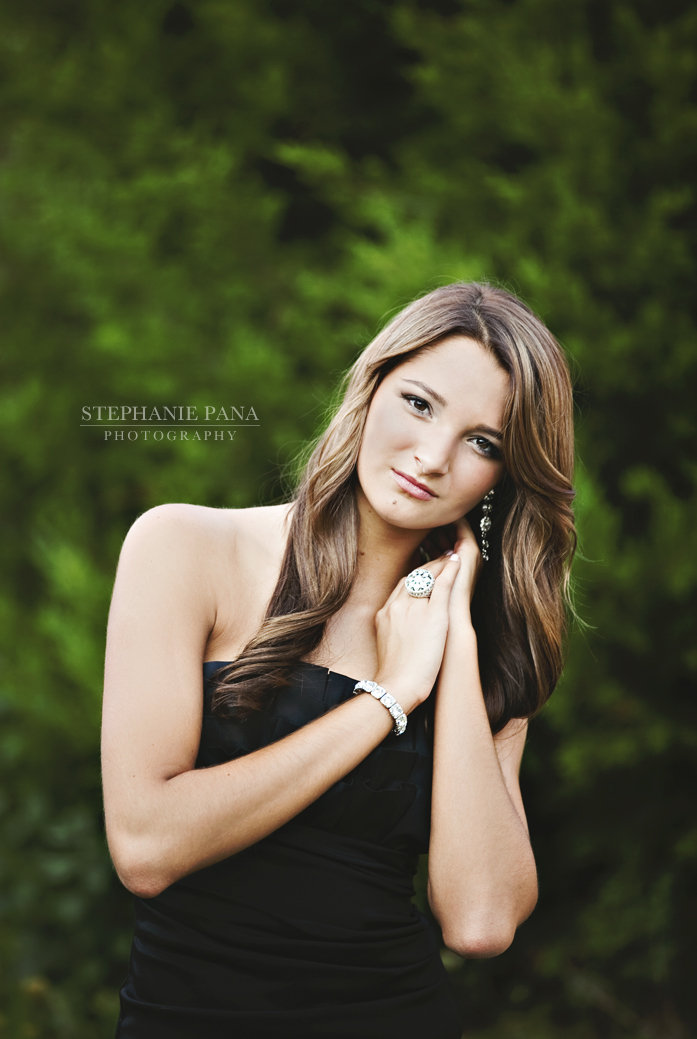
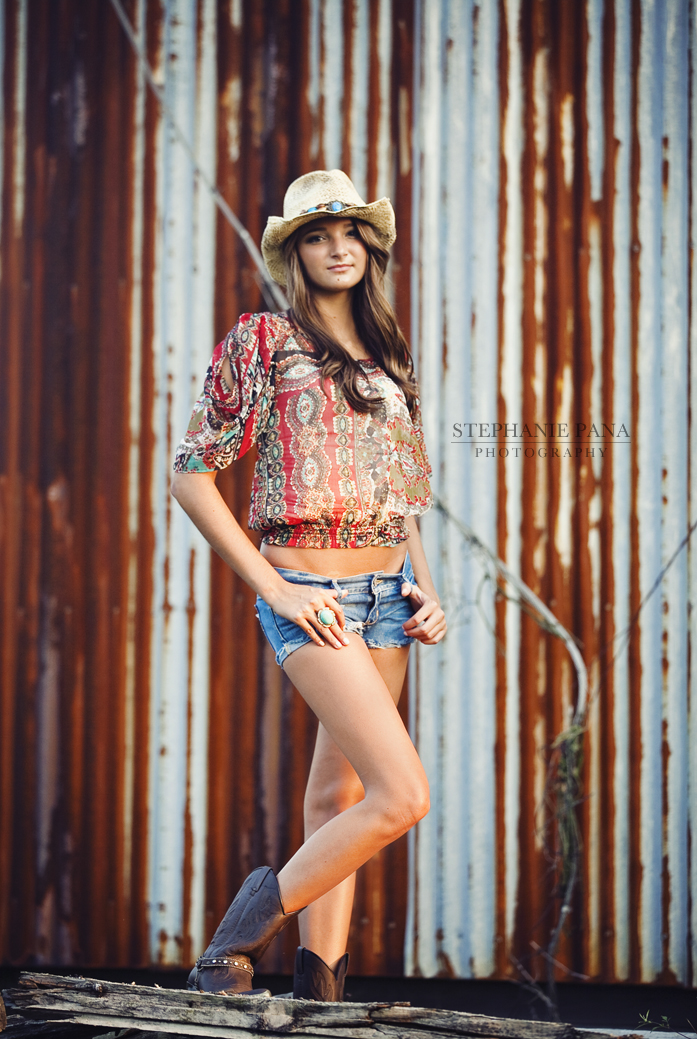
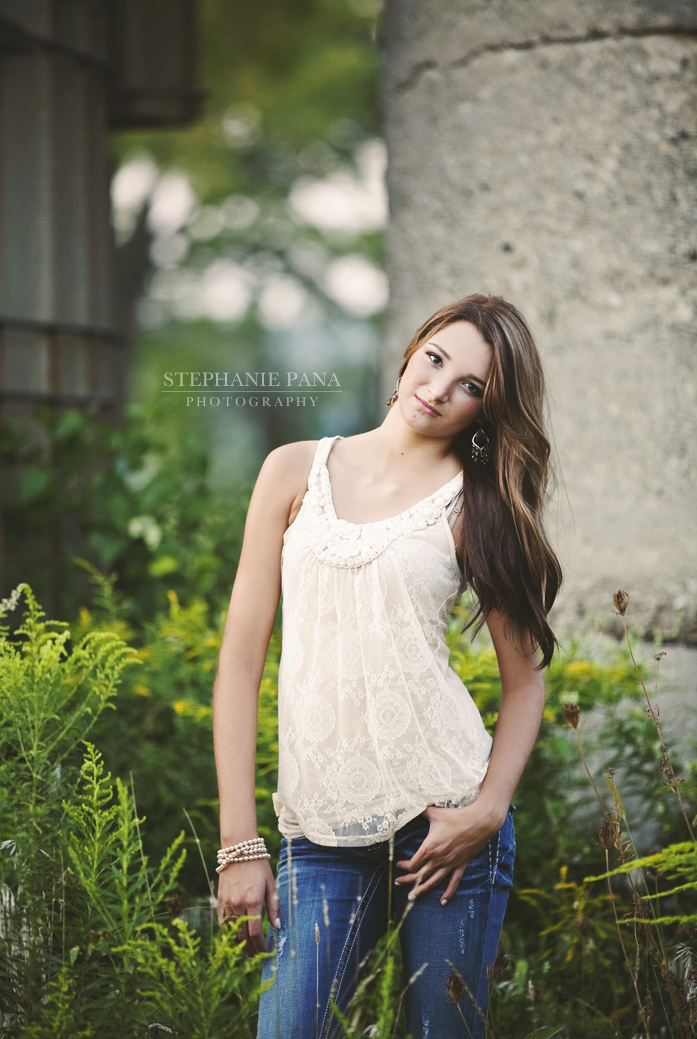
Sun Flare Post Processing
Ah, Sun Flares. My favorite. If you haven't noticed the constant variable of sun in my work, then you must know it engulfs me and I love to use it - especially so at golden hour. Seen above, we have an image taken with about 30 minutes of light left. This image was shot with a Canon 5D Mark II + a 351.4 L lens @ f/1.4, ISO 100, 1/1000 shutter speed.
A lot of my "sun" filled images turn out this way naturally SOOC. Very muddy, gray, muted. We obviously want to change that. Let's get onto the transformation. Very similar to other processes mentioned above!
As any other photo, I always work on my RAW edits to create the first layer of visual transformation to my images. I obviously wanted to warm up the image a bit more, which I did with the temperature. I also upped the contrast pretty heavily since I wanted to bring more pop to the image since it was very flat. I also used the clarity tool to bring a little extra strength to the photo.
In Photoshop, I make sure to always focus on the skin as a first priority over anything else. After this process is complete, I again used Florabella's Luxe II Action (Envy) at lowered opacity along with tweaking the layers to my visual taste.
Lastly, I used Jordan Voth's "Foggy Tones" action to create my haze over effect. At that time, I still felt the image wasn't as "warm" as I'd like it to be, so I added an additional "warmer" layer from Florabella's Action set to polish it off.
--------------------------------------------------------------------------------------------------------------
CREDIT FOR ALL ACTIONS GO TO:
I also love to use this lovely lady's actions:
This is pretty much my basic run through of how I edit in my daily workflow. Little tweaks here and there can make a world of difference. If you guys ever have any questions, please feel free to ask! Please take all of this into your own personal style and mold it into something that feels comfortable for you. Like I mentioned above, not everyone can pull of the dramatic/moody look. That doesn't mean you're doing something wrong ;) It just means you have a different style.
I hope this helps someone come into their own! <3
Thank you all for the constant support! You rock!!
Stephanie Pana